There are many platforms you can use to start a blog in Nepal. WordPress, Blogger, Wix, etc. are some of these platforms.
You can set up a blog for free using these platforms. If you are a beginner blogger in Nepal, you can start with the free platforms first. You will be able to learn the basics of blogging if you use the free platforms.
But if you are an experienced blogger or if you want to start a professional blog, you need to spend some money to set up your blog.
WordPress
WordPress is one of the best platforms for blogging. It is used by a lot of bloggers all around the world. It is easy to set up and use.
In this article, we will be focusing on how to install WordPress on your website’s cPanel. It takes less than 10 minutes to install WordPress. But first, you must have a domain and hosting.
We will be discussing a step-by-step process to install WordPress on the cPanel of your blog/website.
Please be informed that this is a tutorial for setting up a professional blog using WordPress (not a free version).
Step 1: Domain and Hosting
Having proper domain and hosting is very important in setting up your blog. It is the first thing you should do.
A domain is the name of your blog. This name appears on the URL of your blog (e.g. www.myblogname.com). You need to buy a domain name for your blog. There are different types of domain names (.com, .com.np, .org, .info, .net, .edu). For your blog, you can choose .com, .com.np, or .info.
You will also need web hosting for your blog. It allows you to store your blog’s data on a server. You will be able to access your website from anywhere. Your website’s speed, storage, mail servers, etc. are all managed by your web hosting.
There are many companies in Nepal that provide web hosting and domain name services.
You can register your domain and buy web hosting from AGM Web Hosting Nepal. (Disclaimer: This is an affiliate link.)
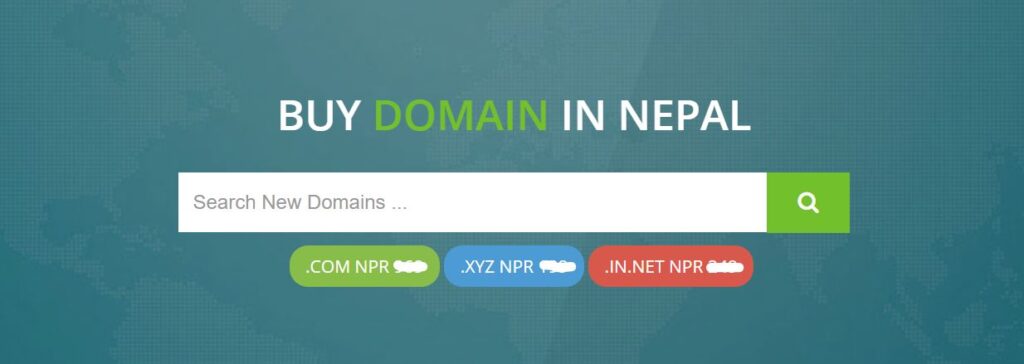
Simply type the domain name of your choice and check its availability. If it is available, great! You can follow along and register it in your name.
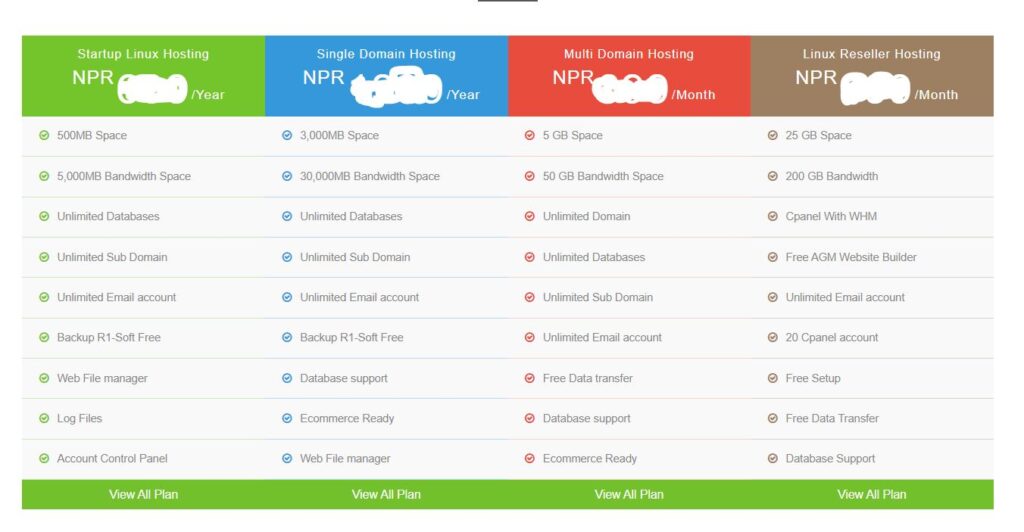
Similarly, select the plan for your web hosting and buy whichever is suitable for you. The prices may vary according to the services provided by the company.
Step 2: Login To Your cPanel
Once you have paid the company for your domain and web hosting, you will receive an email from them. The email will provide the registration confirmation of your domain name. It will also include the cPanel credentials for your website.
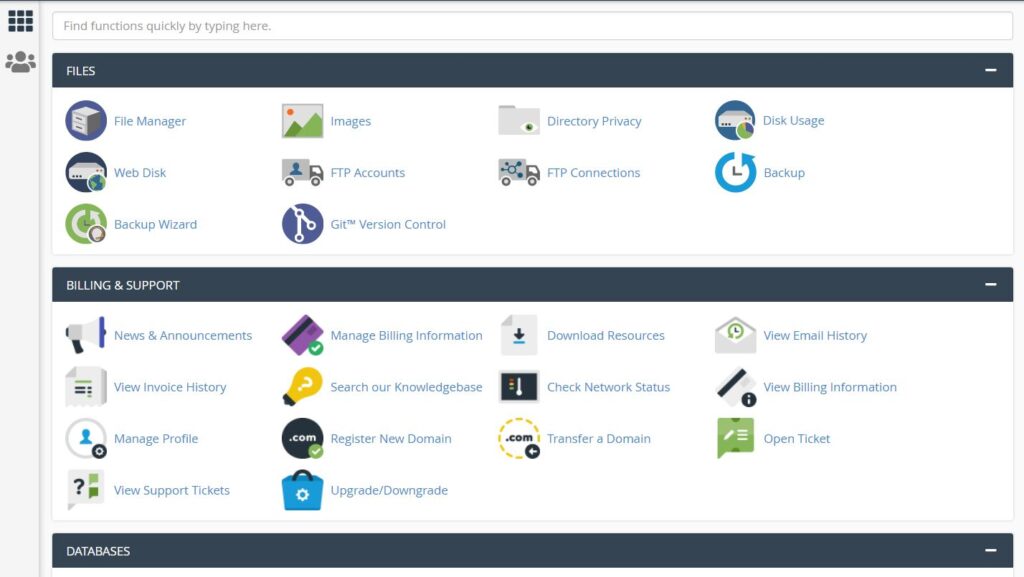
A cPanel is a user interface control panel for your website and server management.
Your cPanel dashboard will look something like this.
Step 3: Installing WordPress
a) Download WordPress
The first thing you will need to do is download the WordPress file. To do this, go to WordPress.org or simply click here.
Once you download it, a zip file will be stored on your local PC.
b) Upload WordPress to Your cPanel
You need to login to your website’s cPanel using the credentials provided to you by the hosting company. The email will also contain the URL for the cPanel or you can simply use www.yourwebsitename.com/cpanel.
After you have logged in, you need to upload WordPress to the cPanel. Follow these steps:
- On the cPanel dashboard, go to “File Manager” on your cPanel.
- Select “public_html”.
- Click on “Upload” and upload the zip file you downloaded in the previous step (a).
- Right-click on the uploaded zip file and select “Extract”.
- A folder named “WordPress” will be created.
- Select all the files inside the “WordPress” folder and move to the “public_html” folder.
c) Create Database, Database User/Password, and Add User
You need to create a database to store all the files of your website. To do so, follow these steps:
- On the cPanel dashboard, go to “My SQL Databases”.
- Type the database name of your choice on the “Create New Database” section and click the “Create Database” button. Save the database name.
- Go back.
- Go to the “Add New User” section and type the name of the user of your choice and set up a password (you can use the “Password Generator” button). Click on “Create User”. Save the user and password.
- Go back again.
- Go to the “Add User to Database” section and select the user and database you have just created.
- Tick on “ALL PRIVILEGES” and all privileges will be selected. Deselect the “DROP” item. Click on the “Make Changes” button.
- Remember to save the database name, user name, and password.
d) Install WordPress
Once you have completed step (c), go to the browser, type your website’s domain name, and press enter.
You should see a WordPress installation page with the name of different languages like this.
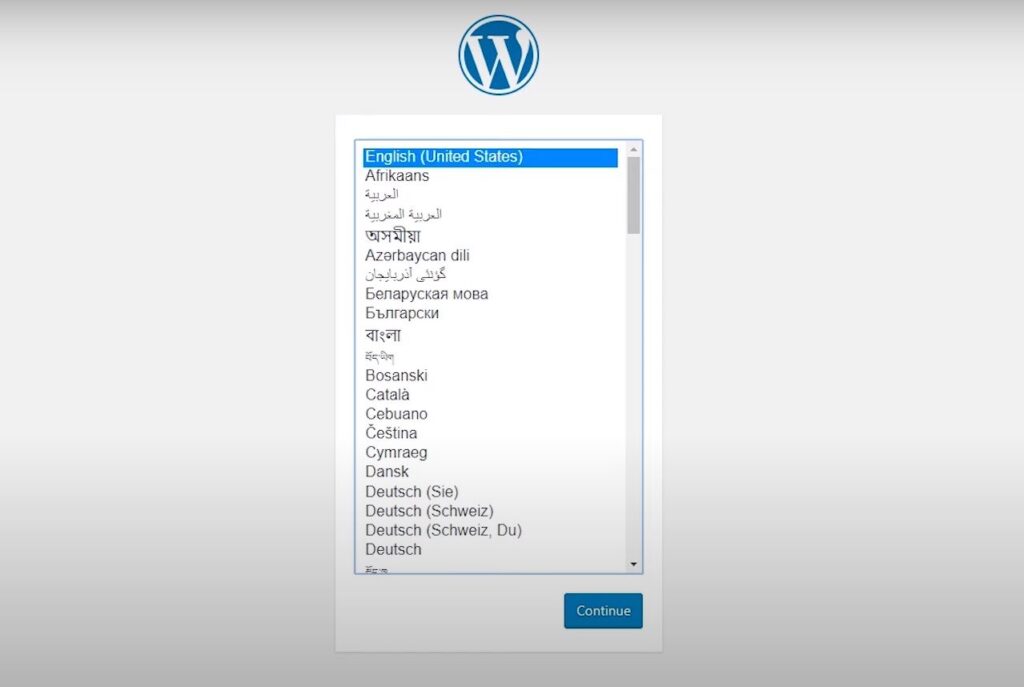
- Select the language and click “Continue”.
- Provide the database name, database username, password, and hostname. We have already created these in the previous step.
- For the hostname, just type any name you would like to give (e.g. wp_yourwebsitename).
- Submit and select “Run the installation”.
- Once it is done, provide further information like site title, username, password, and email. This will be used to log in to your WordPress account and access the WordPress dashboard.
- Click on “Install WordPress” and log in to your account.
- Remember your login credentials of your WordPress account.
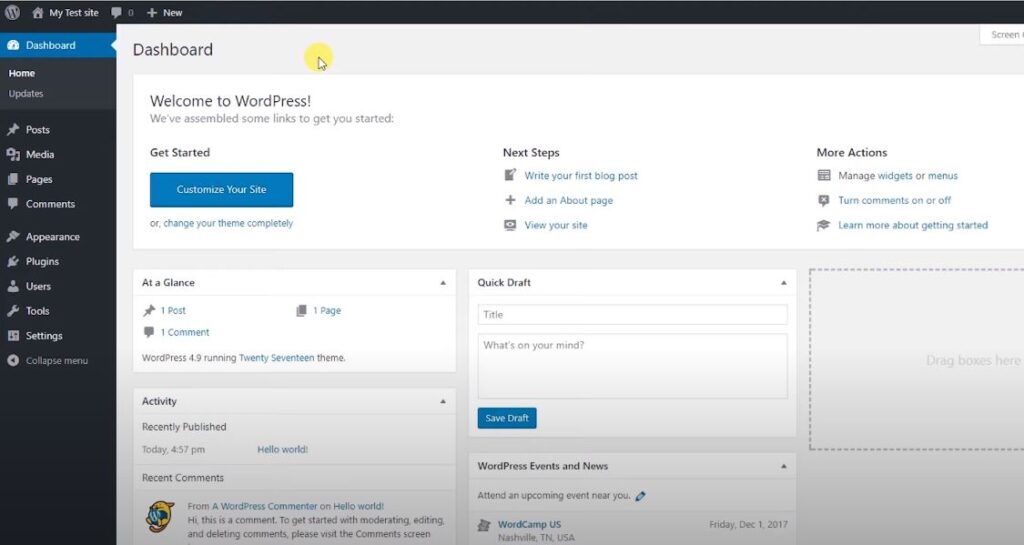
Once you log in, you should be able to access your WordPress dashboard.
Conclusion
Congratulations! You have successfully installed WordPress to your cPanel. Now you can start setting up your blog using WordPress.
We hope that this article was helpful to you. Our goal was to help you install WordPress to your website’s cPanel.
To recap, first, you need to buy a suitable domain and web hosting for your blog. After you make your payment to the hosting company, you will receive the confirmation of the domain registration. Along with that, you will also receive the credentials of your cPanel.
To install WordPress on your cPanel, first, download the zip file from wordpress.org. Upload the zip file to your cPanel. Create a database, database user/password, and add the user. Finally, install WordPress by providing the database information and WordPress account information.
Thank you for reading this article. If you have any queries, please comment below.
Biliz Maharjan is a writer, creator, and entrepreneur. He is the founder of NepBloggers.com. Learn more about him here →.